Found 38 repositories(showing 30)
rramatchandran
# big-o-performance A simple html app to demonstrate performance costs of data structures. - Clone the project - Navigate to the root of the project in a termina or command prompt - Run 'npm install' - Run 'npm start' - Go to the URL specified in the terminal or command prompt to try out the app. # This app was created from the Create React App NPM. Below are instructions from that project. Below you will find some information on how to perform common tasks. You can find the most recent version of this guide [here](https://github.com/facebookincubator/create-react-app/blob/master/template/README.md). ## Table of Contents - [Updating to New Releases](#updating-to-new-releases) - [Sending Feedback](#sending-feedback) - [Folder Structure](#folder-structure) - [Available Scripts](#available-scripts) - [npm start](#npm-start) - [npm run build](#npm-run-build) - [npm run eject](#npm-run-eject) - [Displaying Lint Output in the Editor](#displaying-lint-output-in-the-editor) - [Installing a Dependency](#installing-a-dependency) - [Importing a Component](#importing-a-component) - [Adding a Stylesheet](#adding-a-stylesheet) - [Post-Processing CSS](#post-processing-css) - [Adding Images and Fonts](#adding-images-and-fonts) - [Adding Bootstrap](#adding-bootstrap) - [Adding Flow](#adding-flow) - [Adding Custom Environment Variables](#adding-custom-environment-variables) - [Integrating with a Node Backend](#integrating-with-a-node-backend) - [Proxying API Requests in Development](#proxying-api-requests-in-development) - [Deployment](#deployment) - [Now](#now) - [Heroku](#heroku) - [Surge](#surge) - [GitHub Pages](#github-pages) - [Something Missing?](#something-missing) ## Updating to New Releases Create React App is divided into two packages: * `create-react-app` is a global command-line utility that you use to create new projects. * `react-scripts` is a development dependency in the generated projects (including this one). You almost never need to update `create-react-app` itself: it’s delegates all the setup to `react-scripts`. When you run `create-react-app`, it always creates the project with the latest version of `react-scripts` so you’ll get all the new features and improvements in newly created apps automatically. To update an existing project to a new version of `react-scripts`, [open the changelog](https://github.com/facebookincubator/create-react-app/blob/master/CHANGELOG.md), find the version you’re currently on (check `package.json` in this folder if you’re not sure), and apply the migration instructions for the newer versions. In most cases bumping the `react-scripts` version in `package.json` and running `npm install` in this folder should be enough, but it’s good to consult the [changelog](https://github.com/facebookincubator/create-react-app/blob/master/CHANGELOG.md) for potential breaking changes. We commit to keeping the breaking changes minimal so you can upgrade `react-scripts` painlessly. ## Sending Feedback We are always open to [your feedback](https://github.com/facebookincubator/create-react-app/issues). ## Folder Structure After creation, your project should look like this: ``` my-app/ README.md index.html favicon.ico node_modules/ package.json src/ App.css App.js index.css index.js logo.svg ``` For the project to build, **these files must exist with exact filenames**: * `index.html` is the page template; * `favicon.ico` is the icon you see in the browser tab; * `src/index.js` is the JavaScript entry point. You can delete or rename the other files. You may create subdirectories inside `src`. For faster rebuilds, only files inside `src` are processed by Webpack. You need to **put any JS and CSS files inside `src`**, or Webpack won’t see them. You can, however, create more top-level directories. They will not be included in the production build so you can use them for things like documentation. ## Available Scripts In the project directory, you can run: ### `npm start` Runs the app in the development mode.<br> Open [http://localhost:3000](http://localhost:3000) to view it in the browser. The page will reload if you make edits.<br> You will also see any lint errors in the console. ### `npm run build` Builds the app for production to the `build` folder.<br> It correctly bundles React in production mode and optimizes the build for the best performance. The build is minified and the filenames include the hashes.<br> Your app is ready to be deployed! ### `npm run eject` **Note: this is a one-way operation. Once you `eject`, you can’t go back!** If you aren’t satisfied with the build tool and configuration choices, you can `eject` at any time. This command will remove the single build dependency from your project. Instead, it will copy all the configuration files and the transitive dependencies (Webpack, Babel, ESLint, etc) right into your project so you have full control over them. All of the commands except `eject` will still work, but they will point to the copied scripts so you can tweak them. At this point you’re on your own. You don’t have to ever use `eject`. The curated feature set is suitable for small and middle deployments, and you shouldn’t feel obligated to use this feature. However we understand that this tool wouldn’t be useful if you couldn’t customize it when you are ready for it. ## Displaying Lint Output in the Editor >Note: this feature is available with `react-scripts@0.2.0` and higher. Some editors, including Sublime Text, Atom, and Visual Studio Code, provide plugins for ESLint. They are not required for linting. You should see the linter output right in your terminal as well as the browser console. However, if you prefer the lint results to appear right in your editor, there are some extra steps you can do. You would need to install an ESLint plugin for your editor first. >**A note for Atom `linter-eslint` users** >If you are using the Atom `linter-eslint` plugin, make sure that **Use global ESLint installation** option is checked: ><img src="http://i.imgur.com/yVNNHJM.png" width="300"> Then make sure `package.json` of your project ends with this block: ```js { // ... "eslintConfig": { "extends": "./node_modules/react-scripts/config/eslint.js" } } ``` Projects generated with `react-scripts@0.2.0` and higher should already have it. If you don’t need ESLint integration with your editor, you can safely delete those three lines from your `package.json`. Finally, you will need to install some packages *globally*: ```sh npm install -g eslint babel-eslint eslint-plugin-react eslint-plugin-import eslint-plugin-jsx-a11y eslint-plugin-flowtype ``` We recognize that this is suboptimal, but it is currently required due to the way we hide the ESLint dependency. The ESLint team is already [working on a solution to this](https://github.com/eslint/eslint/issues/3458) so this may become unnecessary in a couple of months. ## Installing a Dependency The generated project includes React and ReactDOM as dependencies. It also includes a set of scripts used by Create React App as a development dependency. You may install other dependencies (for example, React Router) with `npm`: ``` npm install --save <library-name> ``` ## Importing a Component This project setup supports ES6 modules thanks to Babel. While you can still use `require()` and `module.exports`, we encourage you to use [`import` and `export`](http://exploringjs.com/es6/ch_modules.html) instead. For example: ### `Button.js` ```js import React, { Component } from 'react'; class Button extends Component { render() { // ... } } export default Button; // Don’t forget to use export default! ``` ### `DangerButton.js` ```js import React, { Component } from 'react'; import Button from './Button'; // Import a component from another file class DangerButton extends Component { render() { return <Button color="red" />; } } export default DangerButton; ``` Be aware of the [difference between default and named exports](http://stackoverflow.com/questions/36795819/react-native-es-6-when-should-i-use-curly-braces-for-import/36796281#36796281). It is a common source of mistakes. We suggest that you stick to using default imports and exports when a module only exports a single thing (for example, a component). That’s what you get when you use `export default Button` and `import Button from './Button'`. Named exports are useful for utility modules that export several functions. A module may have at most one default export and as many named exports as you like. Learn more about ES6 modules: * [When to use the curly braces?](http://stackoverflow.com/questions/36795819/react-native-es-6-when-should-i-use-curly-braces-for-import/36796281#36796281) * [Exploring ES6: Modules](http://exploringjs.com/es6/ch_modules.html) * [Understanding ES6: Modules](https://leanpub.com/understandinges6/read#leanpub-auto-encapsulating-code-with-modules) ## Adding a Stylesheet This project setup uses [Webpack](https://webpack.github.io/) for handling all assets. Webpack offers a custom way of “extending” the concept of `import` beyond JavaScript. To express that a JavaScript file depends on a CSS file, you need to **import the CSS from the JavaScript file**: ### `Button.css` ```css .Button { padding: 20px; } ``` ### `Button.js` ```js import React, { Component } from 'react'; import './Button.css'; // Tell Webpack that Button.js uses these styles class Button extends Component { render() { // You can use them as regular CSS styles return <div className="Button" />; } } ``` **This is not required for React** but many people find this feature convenient. You can read about the benefits of this approach [here](https://medium.com/seek-ui-engineering/block-element-modifying-your-javascript-components-d7f99fcab52b). However you should be aware that this makes your code less portable to other build tools and environments than Webpack. In development, expressing dependencies this way allows your styles to be reloaded on the fly as you edit them. In production, all CSS files will be concatenated into a single minified `.css` file in the build output. If you are concerned about using Webpack-specific semantics, you can put all your CSS right into `src/index.css`. It would still be imported from `src/index.js`, but you could always remove that import if you later migrate to a different build tool. ## Post-Processing CSS This project setup minifies your CSS and adds vendor prefixes to it automatically through [Autoprefixer](https://github.com/postcss/autoprefixer) so you don’t need to worry about it. For example, this: ```css .App { display: flex; flex-direction: row; align-items: center; } ``` becomes this: ```css .App { display: -webkit-box; display: -ms-flexbox; display: flex; -webkit-box-orient: horizontal; -webkit-box-direction: normal; -ms-flex-direction: row; flex-direction: row; -webkit-box-align: center; -ms-flex-align: center; align-items: center; } ``` There is currently no support for preprocessors such as Less, or for sharing variables across CSS files. ## Adding Images and Fonts With Webpack, using static assets like images and fonts works similarly to CSS. You can **`import` an image right in a JavaScript module**. This tells Webpack to include that image in the bundle. Unlike CSS imports, importing an image or a font gives you a string value. This value is the final image path you can reference in your code. Here is an example: ```js import React from 'react'; import logo from './logo.png'; // Tell Webpack this JS file uses this image console.log(logo); // /logo.84287d09.png function Header() { // Import result is the URL of your image return <img src={logo} alt="Logo" />; } export default function Header; ``` This works in CSS too: ```css .Logo { background-image: url(./logo.png); } ``` Webpack finds all relative module references in CSS (they start with `./`) and replaces them with the final paths from the compiled bundle. If you make a typo or accidentally delete an important file, you will see a compilation error, just like when you import a non-existent JavaScript module. The final filenames in the compiled bundle are generated by Webpack from content hashes. If the file content changes in the future, Webpack will give it a different name in production so you don’t need to worry about long-term caching of assets. Please be advised that this is also a custom feature of Webpack. **It is not required for React** but many people enjoy it (and React Native uses a similar mechanism for images). However it may not be portable to some other environments, such as Node.js and Browserify. If you prefer to reference static assets in a more traditional way outside the module system, please let us know [in this issue](https://github.com/facebookincubator/create-react-app/issues/28), and we will consider support for this. ## Adding Bootstrap You don’t have to use [React Bootstrap](https://react-bootstrap.github.io) together with React but it is a popular library for integrating Bootstrap with React apps. If you need it, you can integrate it with Create React App by following these steps: Install React Bootstrap and Bootstrap from NPM. React Bootstrap does not include Bootstrap CSS so this needs to be installed as well: ``` npm install react-bootstrap --save npm install bootstrap@3 --save ``` Import Bootstrap CSS and optionally Bootstrap theme CSS in the ```src/index.js``` file: ```js import 'bootstrap/dist/css/bootstrap.css'; import 'bootstrap/dist/css/bootstrap-theme.css'; ``` Import required React Bootstrap components within ```src/App.js``` file or your custom component files: ```js import { Navbar, Jumbotron, Button } from 'react-bootstrap'; ``` Now you are ready to use the imported React Bootstrap components within your component hierarchy defined in the render method. Here is an example [`App.js`](https://gist.githubusercontent.com/gaearon/85d8c067f6af1e56277c82d19fd4da7b/raw/6158dd991b67284e9fc8d70b9d973efe87659d72/App.js) redone using React Bootstrap. ## Adding Flow Flow typing is currently [not supported out of the box](https://github.com/facebookincubator/create-react-app/issues/72) with the default `.flowconfig` generated by Flow. If you run it, you might get errors like this: ```js node_modules/fbjs/lib/Deferred.js.flow:60 60: Promise.prototype.done.apply(this._promise, arguments); ^^^^ property `done`. Property not found in 495: declare class Promise<+R> { ^ Promise. See lib: /private/tmp/flow/flowlib_34952d31/core.js:495 node_modules/fbjs/lib/shallowEqual.js.flow:29 29: return x !== 0 || 1 / (x: $FlowIssue) === 1 / (y: $FlowIssue); ^^^^^^^^^^ identifier `$FlowIssue`. Could not resolve name src/App.js:3 3: import logo from './logo.svg'; ^^^^^^^^^^^^ ./logo.svg. Required module not found src/App.js:4 4: import './App.css'; ^^^^^^^^^^^ ./App.css. Required module not found src/index.js:5 5: import './index.css'; ^^^^^^^^^^^^^ ./index.css. Required module not found ``` To fix this, change your `.flowconfig` to look like this: ```ini [libs] ./node_modules/fbjs/flow/lib [options] esproposal.class_static_fields=enable esproposal.class_instance_fields=enable module.name_mapper='^\(.*\)\.css$' -> 'react-scripts/config/flow/css' module.name_mapper='^\(.*\)\.\(jpg\|png\|gif\|eot\|otf\|webp\|svg\|ttf\|woff\|woff2\|mp4\|webm\)$' -> 'react-scripts/config/flow/file' suppress_type=$FlowIssue suppress_type=$FlowFixMe ``` Re-run flow, and you shouldn’t get any extra issues. If you later `eject`, you’ll need to replace `react-scripts` references with the `<PROJECT_ROOT>` placeholder, for example: ```ini module.name_mapper='^\(.*\)\.css$' -> '<PROJECT_ROOT>/config/flow/css' module.name_mapper='^\(.*\)\.\(jpg\|png\|gif\|eot\|otf\|webp\|svg\|ttf\|woff\|woff2\|mp4\|webm\)$' -> '<PROJECT_ROOT>/config/flow/file' ``` We will consider integrating more tightly with Flow in the future so that you don’t have to do this. ## Adding Custom Environment Variables >Note: this feature is available with `react-scripts@0.2.3` and higher. Your project can consume variables declared in your environment as if they were declared locally in your JS files. By default you will have `NODE_ENV` defined for you, and any other environment variables starting with `REACT_APP_`. These environment variables will be defined for you on `process.env`. For example, having an environment variable named `REACT_APP_SECRET_CODE` will be exposed in your JS as `process.env.REACT_APP_SECRET_CODE`, in addition to `process.env.NODE_ENV`. These environment variables can be useful for displaying information conditionally based on where the project is deployed or consuming sensitive data that lives outside of version control. First, you need to have environment variables defined, which can vary between OSes. For example, let's say you wanted to consume a secret defined in the environment inside a `<form>`: ```jsx render() { return ( <div> <small>You are running this application in <b>{process.env.NODE_ENV}</b> mode.</small> <form> <input type="hidden" defaultValue={process.env.REACT_APP_SECRET_CODE} /> </form> </div> ); } ``` The above form is looking for a variable called `REACT_APP_SECRET_CODE` from the environment. In order to consume this value, we need to have it defined in the environment: ### Windows (cmd.exe) ```cmd set REACT_APP_SECRET_CODE=abcdef&&npm start ``` (Note: the lack of whitespace is intentional.) ### Linux, OS X (Bash) ```bash REACT_APP_SECRET_CODE=abcdef npm start ``` > Note: Defining environment variables in this manner is temporary for the life of the shell session. Setting permanent environment variables is outside the scope of these docs. With our environment variable defined, we start the app and consume the values. Remember that the `NODE_ENV` variable will be set for you automatically. When you load the app in the browser and inspect the `<input>`, you will see its value set to `abcdef`, and the bold text will show the environment provided when using `npm start`: ```html <div> <small>You are running this application in <b>development</b> mode.</small> <form> <input type="hidden" value="abcdef" /> </form> </div> ``` Having access to the `NODE_ENV` is also useful for performing actions conditionally: ```js if (process.env.NODE_ENV !== 'production') { analytics.disable(); } ``` ## Integrating with a Node Backend Check out [this tutorial](https://www.fullstackreact.com/articles/using-create-react-app-with-a-server/) for instructions on integrating an app with a Node backend running on another port, and using `fetch()` to access it. You can find the companion GitHub repository [here](https://github.com/fullstackreact/food-lookup-demo). ## Proxying API Requests in Development >Note: this feature is available with `react-scripts@0.2.3` and higher. People often serve the front-end React app from the same host and port as their backend implementation. For example, a production setup might look like this after the app is deployed: ``` / - static server returns index.html with React app /todos - static server returns index.html with React app /api/todos - server handles any /api/* requests using the backend implementation ``` Such setup is **not** required. However, if you **do** have a setup like this, it is convenient to write requests like `fetch('/api/todos')` without worrying about redirecting them to another host or port during development. To tell the development server to proxy any unknown requests to your API server in development, add a `proxy` field to your `package.json`, for example: ```js "proxy": "http://localhost:4000", ``` This way, when you `fetch('/api/todos')` in development, the development server will recognize that it’s not a static asset, and will proxy your request to `http://localhost:4000/api/todos` as a fallback. Conveniently, this avoids [CORS issues](http://stackoverflow.com/questions/21854516/understanding-ajax-cors-and-security-considerations) and error messages like this in development: ``` Fetch API cannot load http://localhost:4000/api/todos. No 'Access-Control-Allow-Origin' header is present on the requested resource. Origin 'http://localhost:3000' is therefore not allowed access. If an opaque response serves your needs, set the request's mode to 'no-cors' to fetch the resource with CORS disabled. ``` Keep in mind that `proxy` only has effect in development (with `npm start`), and it is up to you to ensure that URLs like `/api/todos` point to the right thing in production. You don’t have to use the `/api` prefix. Any unrecognized request will be redirected to the specified `proxy`. Currently the `proxy` option only handles HTTP requests, and it won’t proxy WebSocket connections. If the `proxy` option is **not** flexible enough for you, alternatively you can: * Enable CORS on your server ([here’s how to do it for Express](http://enable-cors.org/server_expressjs.html)). * Use [environment variables](#adding-custom-environment-variables) to inject the right server host and port into your app. ## Deployment By default, Create React App produces a build assuming your app is hosted at the server root. To override this, specify the `homepage` in your `package.json`, for example: ```js "homepage": "http://mywebsite.com/relativepath", ``` This will let Create React App correctly infer the root path to use in the generated HTML file. ### Now See [this example](https://github.com/xkawi/create-react-app-now) for a zero-configuration single-command deployment with [now](https://zeit.co/now). ### Heroku Use the [Heroku Buildpack for Create React App](https://github.com/mars/create-react-app-buildpack). You can find instructions in [Deploying React with Zero Configuration](https://blog.heroku.com/deploying-react-with-zero-configuration). ### Surge Install the Surge CLI if you haven't already by running `npm install -g surge`. Run the `surge` command and log in you or create a new account. You just need to specify the *build* folder and your custom domain, and you are done. ```sh email: email@domain.com password: ******** project path: /path/to/project/build size: 7 files, 1.8 MB domain: create-react-app.surge.sh upload: [====================] 100%, eta: 0.0s propagate on CDN: [====================] 100% plan: Free users: email@domain.com IP Address: X.X.X.X Success! Project is published and running at create-react-app.surge.sh ``` Note that in order to support routers that use html5 `pushState` API, you may want to rename the `index.html` in your build folder to `200.html` before deploying to Surge. This [ensures that every URL falls back to that file](https://surge.sh/help/adding-a-200-page-for-client-side-routing). ### GitHub Pages >Note: this feature is available with `react-scripts@0.2.0` and higher. Open your `package.json` and add a `homepage` field: ```js "homepage": "http://myusername.github.io/my-app", ``` **The above step is important!** Create React App uses the `homepage` field to determine the root URL in the built HTML file. Now, whenever you run `npm run build`, you will see a cheat sheet with a sequence of commands to deploy to GitHub pages: ```sh git commit -am "Save local changes" git checkout -B gh-pages git add -f build git commit -am "Rebuild website" git filter-branch -f --prune-empty --subdirectory-filter build git push -f origin gh-pages git checkout - ``` You may copy and paste them, or put them into a custom shell script. You may also customize them for another hosting provider. Note that GitHub Pages doesn't support routers that use the HTML5 `pushState` history API under the hood (for example, React Router using `browserHistory`). This is because when there is a fresh page load for a url like `http://user.github.io/todomvc/todos/42`, where `/todos/42` is a frontend route, the GitHub Pages server returns 404 because it knows nothing of `/todos/42`. If you want to add a router to a project hosted on GitHub Pages, here are a couple of solutions: * You could switch from using HTML5 history API to routing with hashes. If you use React Router, you can switch to `hashHistory` for this effect, but the URL will be longer and more verbose (for example, `http://user.github.io/todomvc/#/todos/42?_k=yknaj`). [Read more](https://github.com/reactjs/react-router/blob/master/docs/guides/Histories.md#histories) about different history implementations in React Router. * Alternatively, you can use a trick to teach GitHub Pages to handle 404 by redirecting to your `index.html` page with a special redirect parameter. You would need to add a `404.html` file with the redirection code to the `build` folder before deploying your project, and you’ll need to add code handling the redirect parameter to `index.html`. You can find a detailed explanation of this technique [in this guide](https://github.com/rafrex/spa-github-pages). ## Something Missing? If you have ideas for more “How To” recipes that should be on this page, [let us know](https://github.com/facebookincubator/create-react-app/issues) or [contribute some!](https://github.com/facebookincubator/create-react-app/edit/master/template/README.md)
ariels7801
This is the most modern and comprehensive course available for Spring Framework 5 and Spring Boot 2. All source code examples used in this course have been developed using the latest version of the Spring Framework - Spring Framework 5 and Spring Boot 2. In this course, you will build multiple real world applications using Spring Framework 5. You will see how modern Spring Framework development is done by leveraging the features of Spring Boot 2. Jump In and Build a Spring MVC App with Spring Boot! We'll jump right into web development with the Spring Framework. I'll show you how kick off a Spring Boot project by using the Spring Initializr. We will then go step by step to build a simple Book / Author web application. You will see how easy it is to use Spring Boot, Spring MVC, and Spring Data JPA to create a functional web application running under Tomcat with a H2 in-memory database. Use Test Driven Development! In addition to teaching you Spring Framework 5, you will learn about modern best practices used in enterprise application development. As we build the applications, you'll see me using Test Driven Development (TDD) with JUnit and Mockito. Using Mockito mocks keeps your Spring Framework unit tests light and fast! You'll also see how the Spring context can be used for more complex integration tests. These techniques are best practices used by companies all over the world to build and manage large scale Spring Framework applications. GitHub Source Code You will have complete access to all source code examples used in the course. In each lesson where we write code, you will have a link to GitHub with two branches in the Github repository. The first branch is the starting state of the code. The second branch is the ending state of the code. You can see exactly what changed in each lesson. Each step of the way, you have a working example you can use for troubleshooting. In fact, you will get access to 15 (and growing!) different GitHub repositories - each packed with Spring Framework programming examples. And, you're encouraged to fork my GitHub repositories so you can share the Spring Framework applications, which you built, to future employers! Continuous Integration Builds Since we are using GitHub and have great test coverage, I also show you how easy it is to set up Continuous Integration builds with CircleCI. Continuous Integration builds are another best practice used by enterprise developers. Using CircleCI makes your CI builds a snap! Project Lombok We all know Java development can require a lot of boiler plate code. It's just the nature of Java. Would you like to see how to slash your boiler plate code using Project Lombok? Spring Data JPA and Hibernate Spring MVC and Hibernate have long been cornerstones of the Spring Framework. You will learn how to use Spring MVC, Spring Data JPA and Hibernate to build a real world web application. You'll learn about Hibernate configuration, and about the mapping of JPA entities. The Thymeleaf template engine is hugely popular with the Spring community. You will see how easy Spring Boot makes using Thymeleaf with Spring MVC. While Bootstrap CSS is not a focus of the course, we will leverage Bootstrap CSS to make our web pages look awesome! Spring MVC Spring MVC has a lot of robust capabilities. I start you off showing you how to build recipe application (using TDD, of course). Initially, it's all happy path development. We go back and add custom exception handling, form validation, and internationalization. Reactive Programming A big theme of Spring Framework 5 is Reactive Programming. Inside the course we build a web application using Thymeleaf, Spring MVC, Spring Data MongoDB, and MongoDB. We then take the MongoDB application we built and convert it to a Reactive application. You'll see how you can leverage the new Reactive types inside the Spring Framework from the data tier to the web tier. You will get to see step by step how to convert a traditional Spring MVC application to an end to end reactive application using the WebFlux framework - which is brand new to Spring Framework 5. Coming Soon to the Course I plan to add a lot more content to this course! I want this to be your go-to course for becoming a Spring Framework developer. Coming soon to the course in 2017: Building RESTFul APIs with Spring WebFlux (New in Spring Framework 5!) Spring Security Documenting your APIs with RestDoc and Swagger 2 Aspect Oriented Programming Using Spring Events Scheduling Tasks Using JAXB Caching with eHcache Spring JDBC (JDBC Template) Spring RestTemplate JMS Messaging AMQP with RabbitMQ Logging configuration for Logback and Log4J 2 And more real world Spring Framework apps! Message me if there is a topic you'd like to see! Spring Framework 5 GA Release This Spring Framework course is so new, it has been developed using Spring Framework 5 'Release Candidate' releases. Spring Framework 5 went GA (General Availability) in September of 2017. The Spring Boot 2.0 GA release is expected to be in late 2017. All source code examples will get updated as the GA releases of the Spring Framework and Spring Boot become available. Course Updates August 1, 2017 - All source code examples updated to latest release of Spring Framework 5 and Spring Boot 2. Now on Spring Framework 5.0 RC3 and Spring Boot 2.0.0.M3. August 8, 2017 - Added content for internationalization with Spring MVC. Added new section to course for using MySQL with Spring Boot / Spring MVC. Added CircleCI for CI builds. CodeCov (dot) io for test coverage reporting. August 9th, 2017 - Added whole new section course on Spring Data MongoDB. Learn to build a web application using the best of the Spring Framework! August 25th, 2017 - Reactive Programming with Spring Framework 5! Almost two hours of additional content has been added on Reactive Programming and Reactive MongoDB. October 10th, 2017 - 3 hours of new content added for consuming and building RESTFul web services using Spring MVC. This includes using RestTemplate to consume RESTFul services, Spring 5 WebClient to consume RESTFul services using Reactive data types, and new lessons on using MapStruct for data mapping. Course Extra - Spring Boot Cookbook! Inside this course, I'm including a Spring Boot Cookbook. You will have complete examples of using the Spring Framework with popular open source technologies. When you get hired as a Spring Framework developer, you'll have ready made Spring Framework examples! My Spring Boot Cookbook includes example Spring Boot projects for: MongoDB MySQL Postgres Maria DB DB2 Express Neo4J Redis Cassandra ActiveMQ RabbitMQ Course Extra - Learn Docker! Docker is an exciting technology that is on fire right now! As a course extra, I'm including the first 3 sections from my top rated Docker for Java Developers course. You will learn more about what Docker is and how you can deploy and run a Spring Boot application inside a Docker container. For Java developers, Docker really is a game changer! Course Extra - IntelliJ IDEA Ultimate Students enrolling in the course can receive a free 90 day trial license to IntelliJ IDEA Ultimate! Closed Captioning / Subtitles Closed captioning in english is available for all course videos! PDF Downloads All keynote presentations are available for you to download as PDFs. Lifetime Access When you purchase this course, you will receive lifetime access! You can login anytime from anywhere to access the course content. No Risk - Money Back Guarantee You can buy this course with no risk. If you are unhappy with the course, for any reason, you can get a complete refund. The course has a 30 day Money Back Guarantee. Future Proof Your Programming Career There is huge demand for Spring Framework developers. Downloads of Spring Boot are up 425% year over year, while Gartner Research is calling Java EE "Obsolete". The market trends are clear. Popularity for JEE is rapidly declining. The popularity for the Spring Framework is growing. Spring Framework 5 is packed with exciting and innovative new features making it a natural choice for enterprise application development. Future proof your programming career. Start learning how to building modern applications using the Spring Framework and enroll in this course today! ¿Cuáles son los requisitos? Basic Java knowledge is required HTML Knowledge is very helpful Knowledge of SQL and databases is helpful ¿Qué voy a aprender en este curso? Learn the Spring Framework from an instructor who has worked for Pivotal customers as a Spring Source consultant, and has spoken at Spring One Learn step by step how to build applications using Spring Framework 5 and Spring Boot 2 You will be taught using best practices such as SOLID OOP, GitHub, Test Driven Development, and Continuous Integration Testing You will understand how to access data using Hibernate 5 and Spring Data JPA Build an end to end Reactive application with Spring Framework 5 and MongoDB Learn About Reactive Programming with Spring Framework 5 Build web applications using Spring MVC See how to run a Spring Boot application inside a Docker container Get access to a Spring Boot Application Cookbook ¿A quién está dirigido? This course is ideal for Java developers who wish to use the Spring Framework for enterprise application development Ver más
saurabhanimesh
This is a dynamic website for business purposes. The users can check out the services while interacting with very blissful and beautiful interface. The users can click on the call button from anywhere on the website and directly they would be transferred to the call app where the number is already entered which makes it very much easier for the users to call the company. Then there’s the concept of Time square New York used in this website because Time square correctly signifies the loads and beauty of sign boards at the same time simultaneously. The first page of the website contains a video of Time square and on the other pages the High quality pictures of Time square has been used. The users can read the details of the previous projects of the company and can also read about the services and products that the company is offering to their customers. The users can also demand request on this website after which the company will call them and hence will proceed the deal. This website contains a slide bar in the services and projects menu by which users can smoothly check the services and projects. The website’s been designed fully for every platforms available currently. It is responsive in very possible way and manner which makes this website robust. For the front end part of this websites – HTML, CSS and JAVA SCRIPT has been used and for the backend part NODE.JS has been used. In backend of my website the modules of Express (for serving purpose) has been used. The backend server and data base of Google’s Firebase has been used and all the server part of the work and data base works has been done through there. Firebase Cloud function has been used to serve the website dynamically and this hosting can been done only if we are willing to be a paid user for Firebase. In this website creation no template, bootstrap or any other already coded mechanism has been used. This website has been coded from the scratch and everything in this website is completely manually coded from the scratch .This website is all created with HTML for structuring, CSS for Designing and for additional dynamic functions Java Script has been used. The data base used in it is of Google’s Firebase. Firebase is the best platform for forming a Backend for mobile applications and web application currently across the world. So, every retrieval and fetching of data has been done through Firebase data base and all dynamic data insertion has also been done through that. The hosting of the website has been done also by the firebase server. Media query has been used for making the website responsive for every platform available and every minute details has been taken care off in it. For the background a professional high quality picture has been taken from pexels.com. For the Review Looping part of the website, looping, Time interval function and data retrieval from the Firebase database. For the animation part on scrolling, AOS (Animation on Scroll) has been used. Images and every photos are used in these website with the help of Firebase Storage Functionality, From there only we are fetching the images (of books and blogs) and showing it in here. A pre loader has been used before the starting of website to let the images get loaded properly so that the users do not faces any difficulties For social handling visit purposes, href has been used and for sharing purpose of blog this website has been used - https://sharingbuttons.io/ . The shop section of the website has been coded in a way where the users has to put their information and then that data will be stored in the data base , and from there the company can get connected with that person. For the side bar slider glider package has been used. The clicking appearance of a details box where the information of the products or projects has been created by create Element method of Java script and in that element creation and data fetching is happening at the same time. When we click on the product or project back then we used remove child method of java script to make it normal.
AnimeshMondol
# SU19CSE299S02G05 <p align="center"> <img width="200" height="200" src="https://media.licdn.com/dms/image/C560BAQEFJPl7DXD1Dg/company-logo_200_200/0?e=2159024400&v=beta&t=4wzyvb7GBsvMovoet_LGS9uj_Gso_kmfWqCXnqydCDI"> </p> <h1 style="text-align: center">         North South University</h1> #        Project Name: Stop Food Waste **                      CSE299: JUNIOR DESIGN** **                        SEC: 02, Group: 05** **                Instructor:** **SHAIKH SHAWON AREFIN SHIMON (SAS3)** **                      Semester:** **Summer 2019** <br> **                        GROUP MEMBERS**                        1. **Animesh Mondol**                          **ID: 1611971042** **                   Email: animesh.sarkar02@northsouth.edu**                        2. **Shamsunnar Sumi**                          **ID: 1621762042**                    **Email: shamsunnar.sumi@northsouth.edu**           **GitHub Repository Link:** **https://github.com/AnimeshMondol/SU19CSE299S02G05NSU**                       **Date Prepared: 19/06/2019** <br><br><br><br><br> **Project Details:** Our project idea is Stop Food Waste. In our country during different program there are some large amount of food are being wasted. So we want to make a web app where people can donate that food to the poor needy people. With this web app we are trying to solve the problem of food faced by a certain amount of people in our country. We also want to use mobile phone access to the users so that they can use mobile phone to access the web page. **Features:** <br> **Login:** The system provides security features through email-password matching where only authorized user can access the system. **Admin Login:** In this part the manager will keep up the donated elements and donor details. He/ She will be able to know all the information and edit them. He/ She can assign people where to pick up the food from which will be shown in Google Map. 1. Add user 2. Remove user 3. View user 4. View request 5. Remove request 6. View donation 7. Confirm pickup location 8. Logout **User Login:** In this part user will be able to login and he/she will be able to see all the donor and there will be an option where user can be a donor. He/ She can also see the place in the map where to go, to pick up the food. **User Login:** 1. Donate food 2. Sign In 3. Become a donor 4. Send request 5. View request 6. About us 7. Contact us 8. Logout **Donate food:** In this part user can donote food by seeing the request id send by the other user. It will also contain a form where donor needs to add his name, mobile, email, req_id, quntity. By submitting the form it will take it to the user map for setup the location in the map. **Request for food:** In this part user can request for food to the website so that other user(donor) can donote food to them for donotion. **Donote Us** In this part user will have a option to donote us money if they want for the development purpose. In this part there will be Bkash and Rocket no where donors can donate us. It will contain a form where name,mobile,amount and transaction id will be asked to stored on DB. **View requests** Here user can see the pending requests for food. **About Us:** In this section there will be information about the program. **Contact Us** In this part there will be information about how to contact us and also there will be a part where user can poot comments and ask for help directly to the admin. **Technology:** HTML, PHP, CSS, Bootstrap template, My SQL Server, Google Map API. **Business Plan:** It is mainly a free to use for everyone. There will be no need for any amount of money to create an account in this webpage. But through Google AdSense we want to monetize the webpage. Also if any donor wants to donate some amount of money they can do it through Bkash , Rocket . <br><br> **Design:** We used the template of Bootstrap containing all the CSS and JS files downloaded from their website. We don't use any extra design in the webpage. But we used some image files to make the website look a little good. **Planning:** After selecting the project, we started our work by creating a UML diagram to make our work easy and it helped us to understand what we need to add or not in our website. Then we created issues in the project board. Then by weekly submission we tried to solve those issues. The project contains total of 43 closed issues which was used to make this website. All the details are shown in the project bord https://github.com/AnimeshMondol/SU19CSE299S02G05NSU/projects/1 **What did/didn't work:** Around 85-90% of our project run's very well. But we faced some problems. They are: 1. As we were unable to constract the foregin key in the DB after login the user need to input his name, mobile no , email and other informations manually. 2. For the donate us page under user, we didn't find any proper solution on how we can give the user the confermation about if his donation is received or not. So we manually take the name , mobile , the amount of money he donated and transaction id and store in the DB. 3. The admin map has some bugs that we were unable to fix. It doesn't refresh after the pickup confermation was done by the admin. 4. We wanted user to make the pickup request from his/her phone but we didn't able to make the website suitable for phones. **Screenshots:** 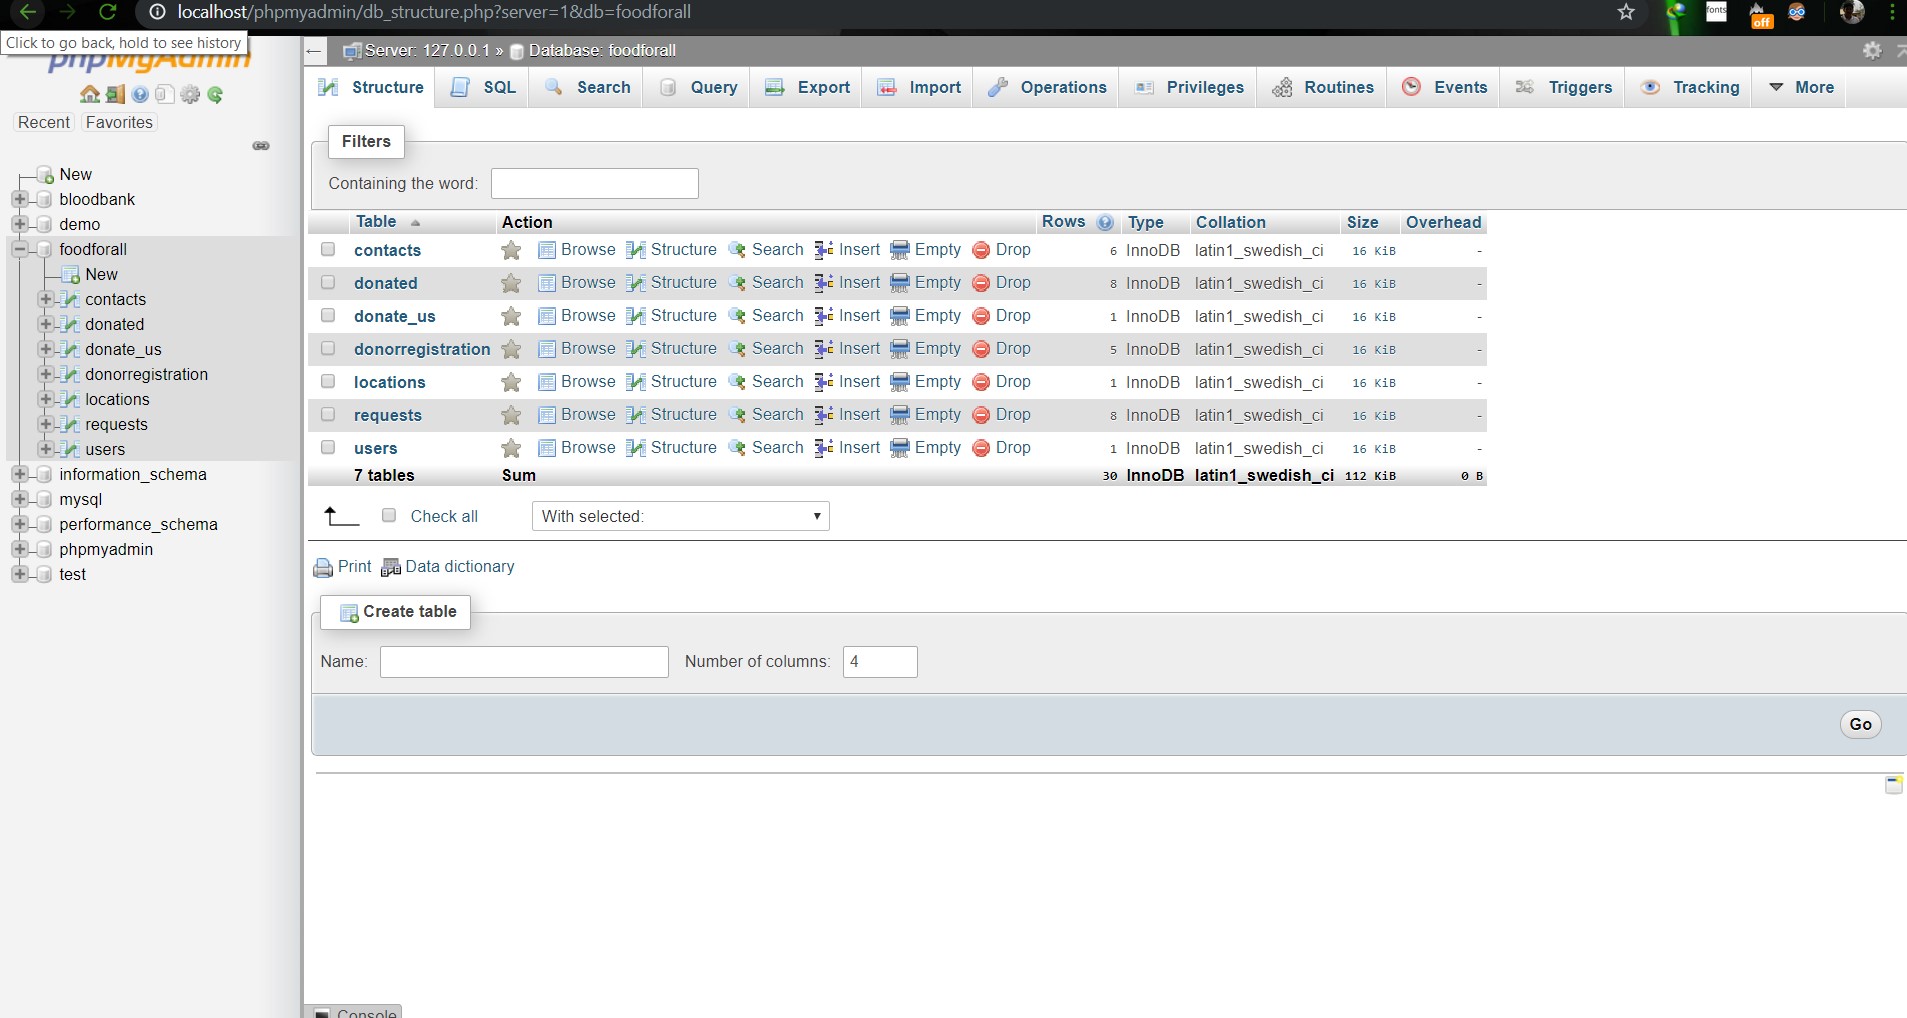                        **Image: DB(Foodforall)** <br> 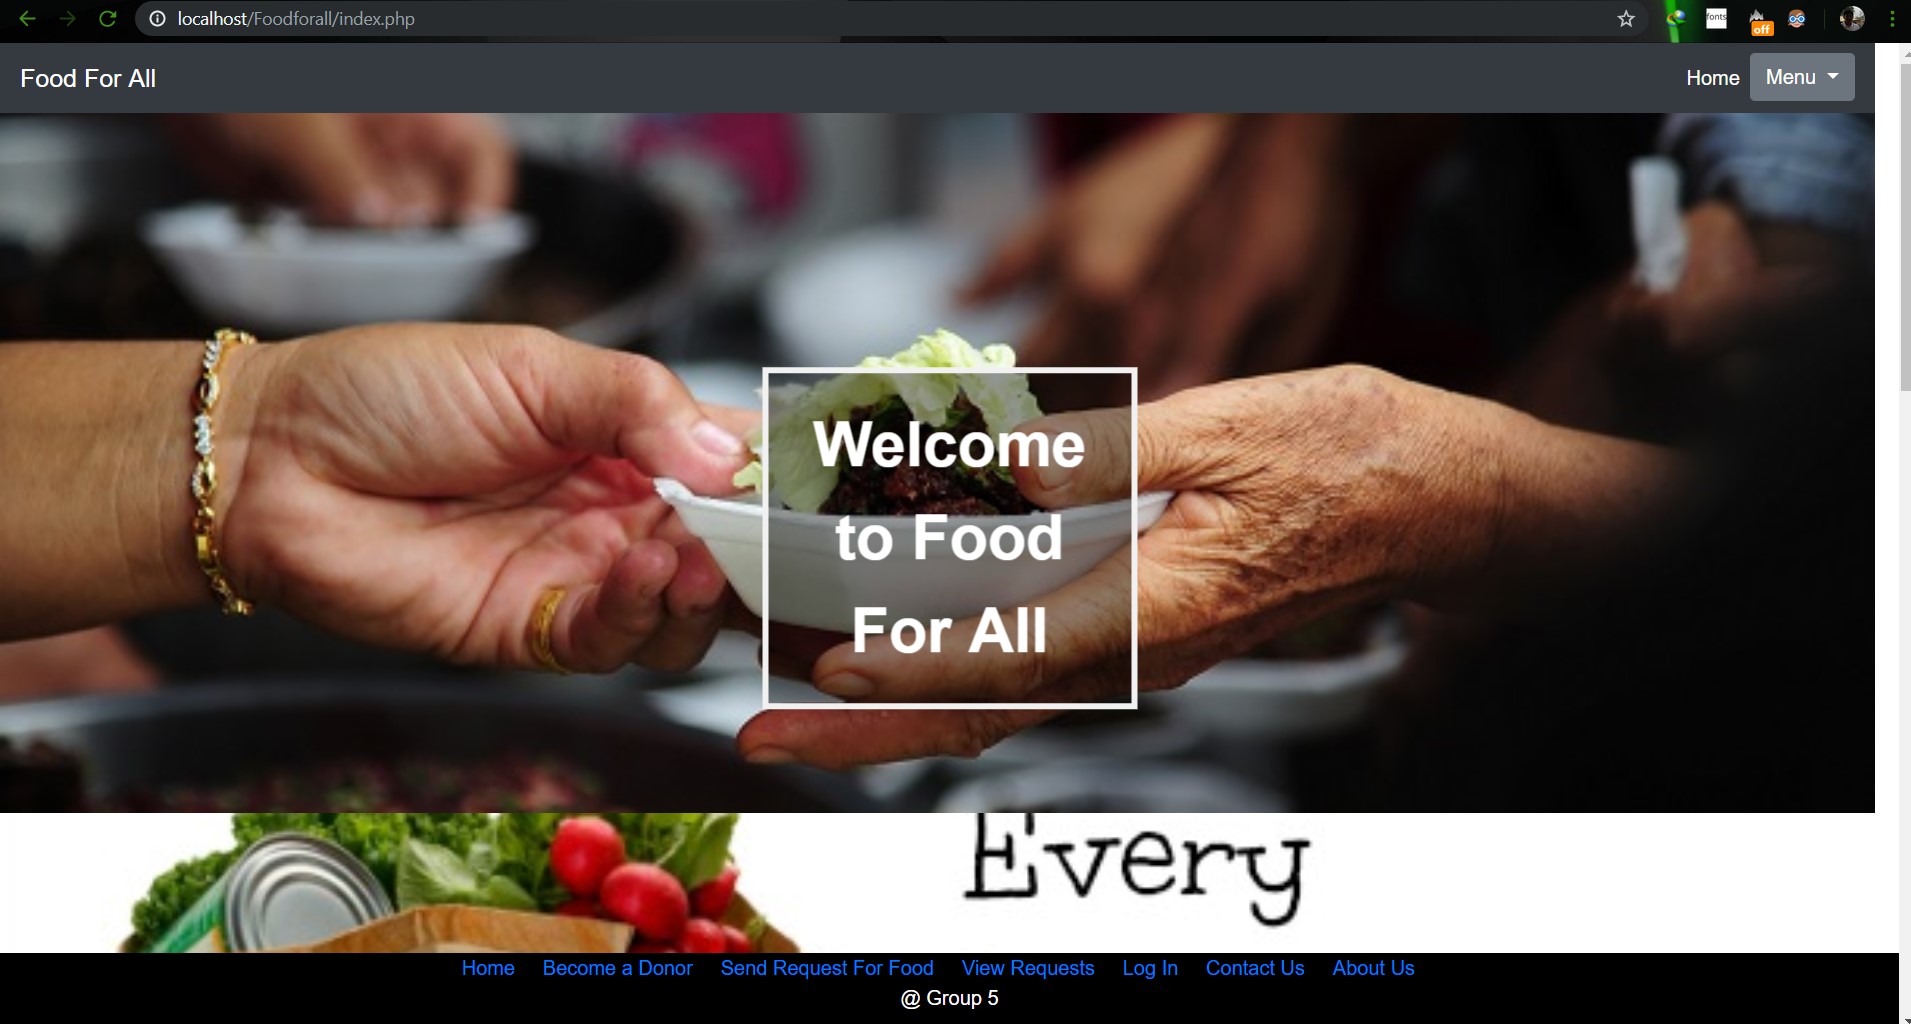                         **Image: Homepage** <br> 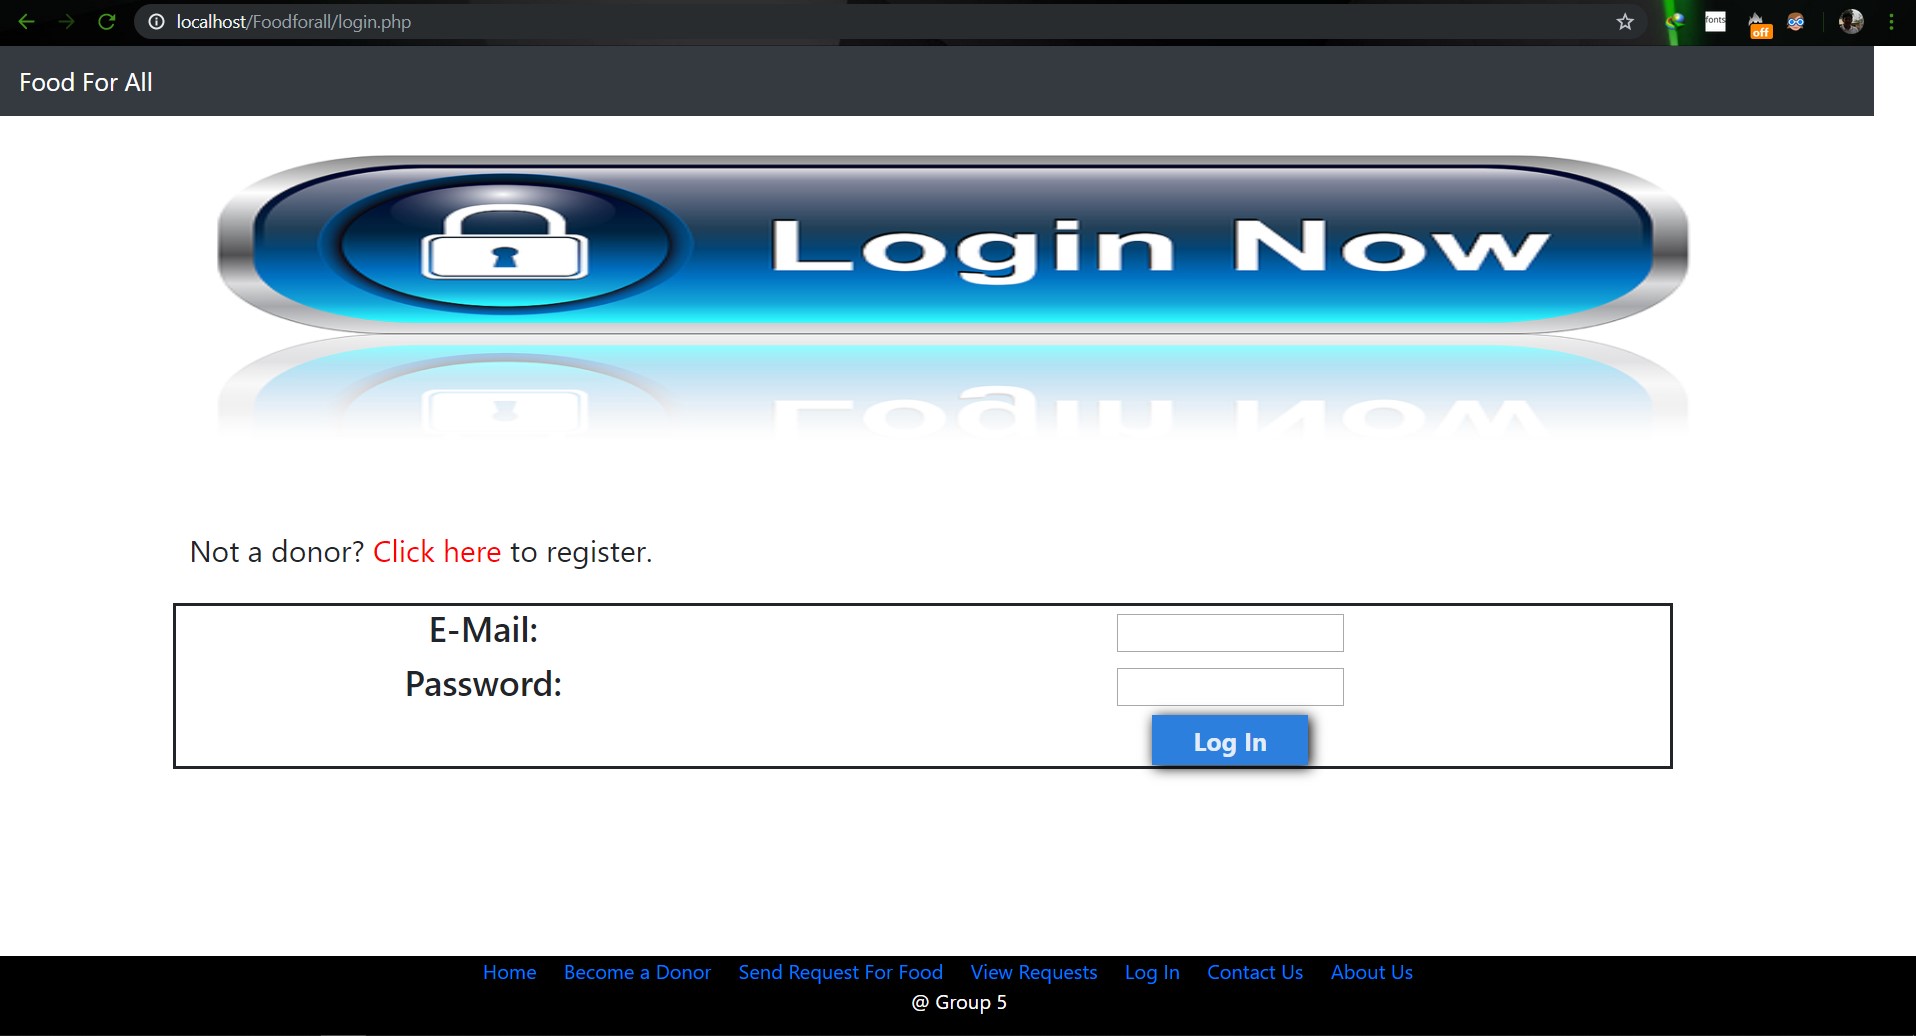                         **Image: Login Page** <br> 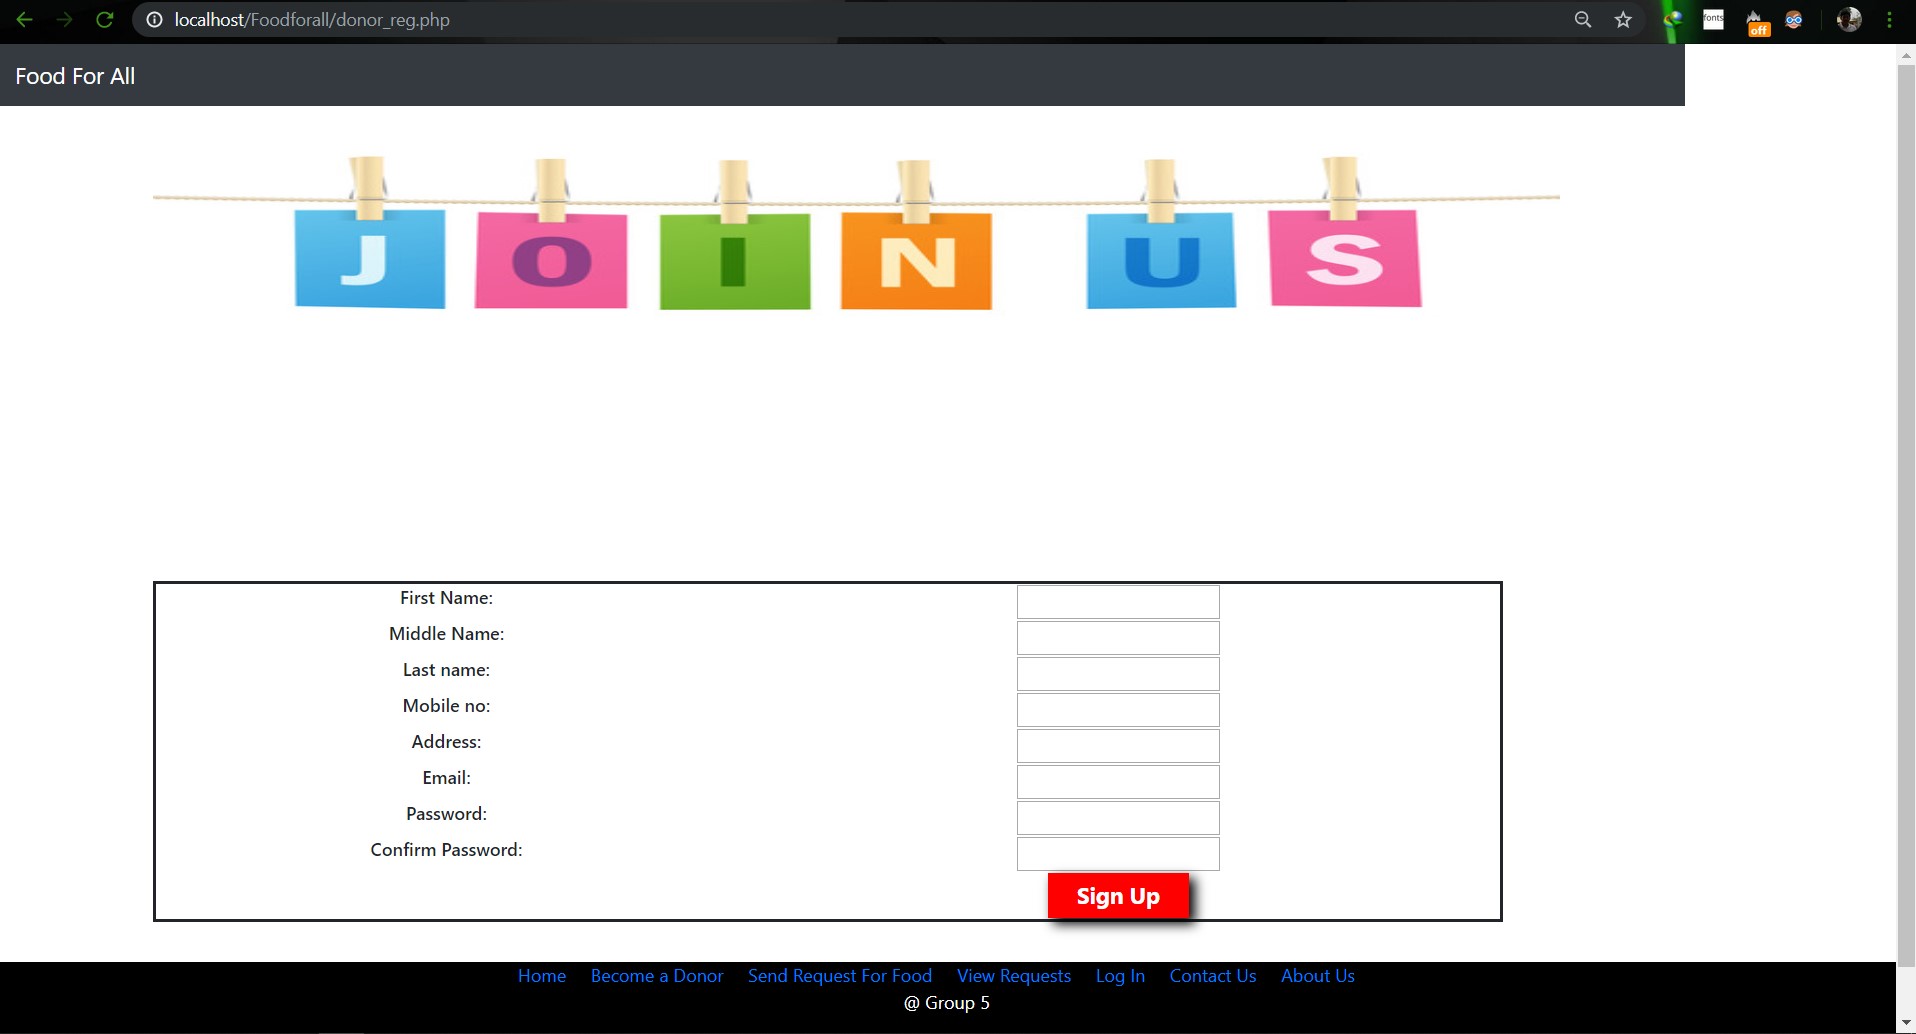                        **Image: Join us Page** <br> 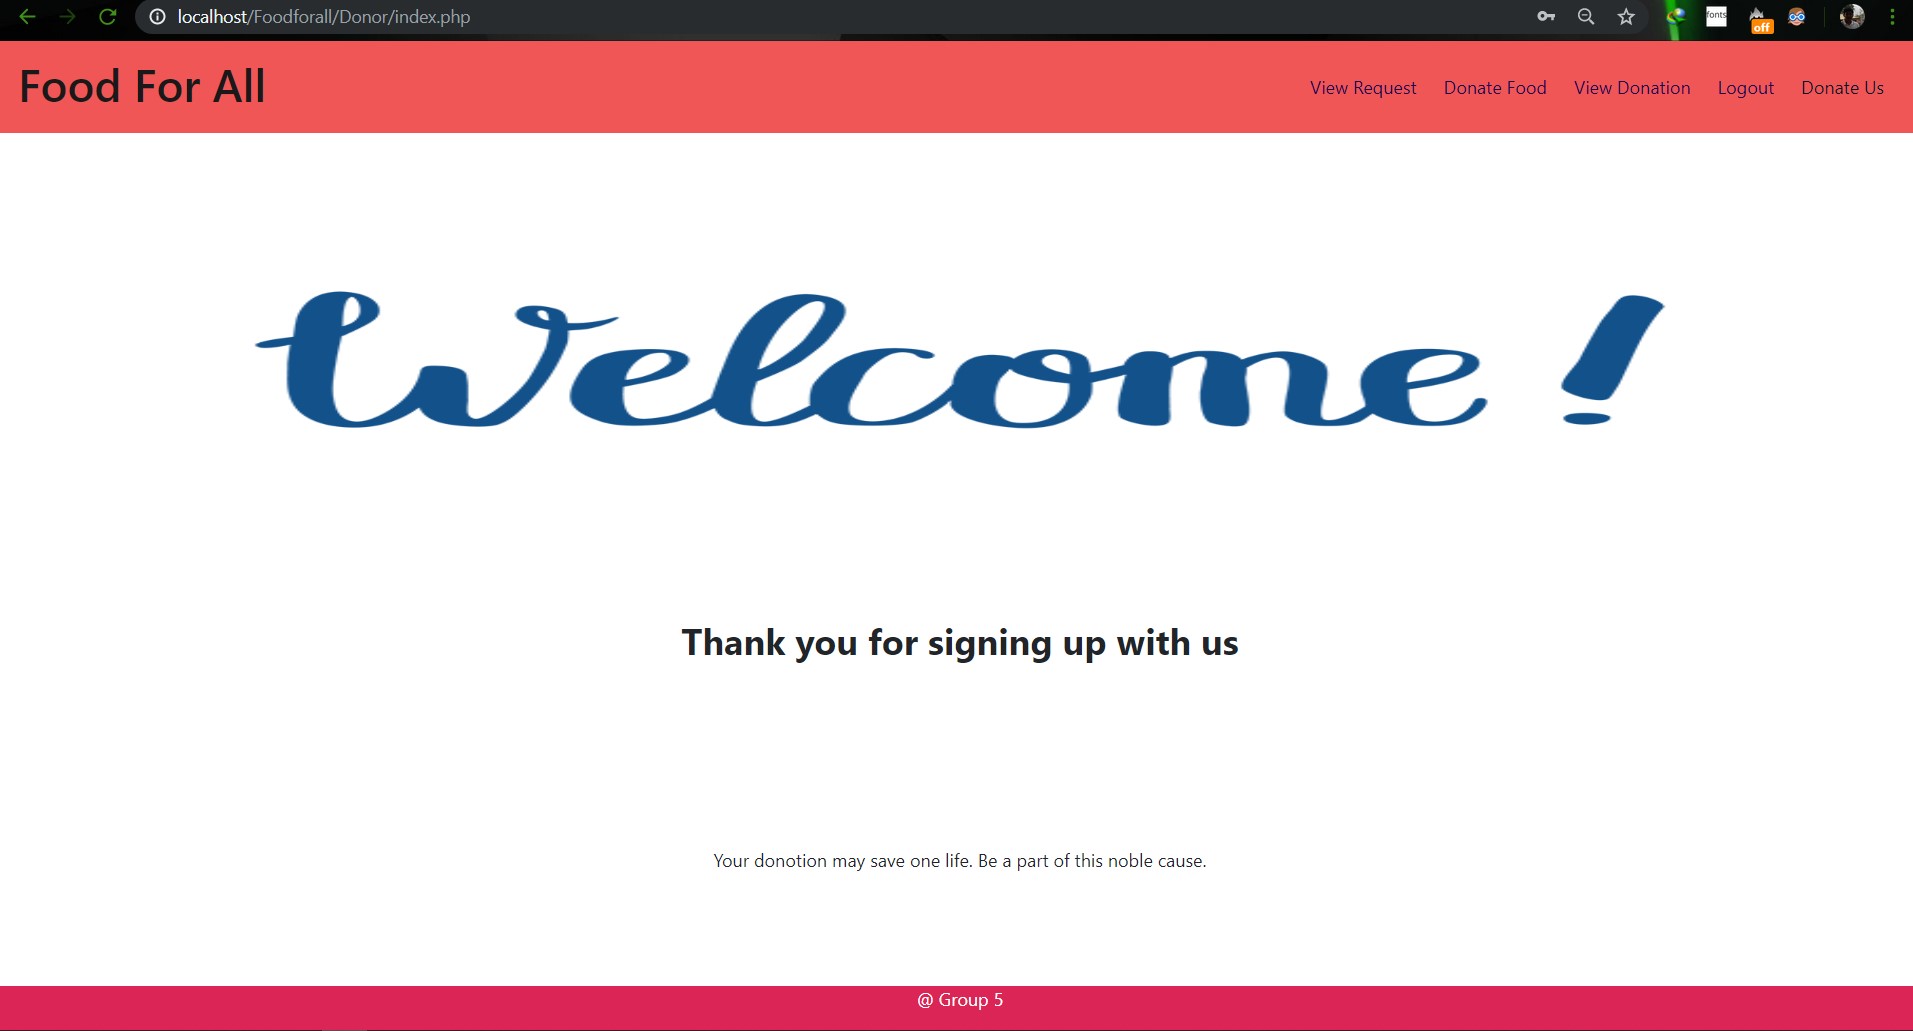                        **Image: Donor Login Page** <br> 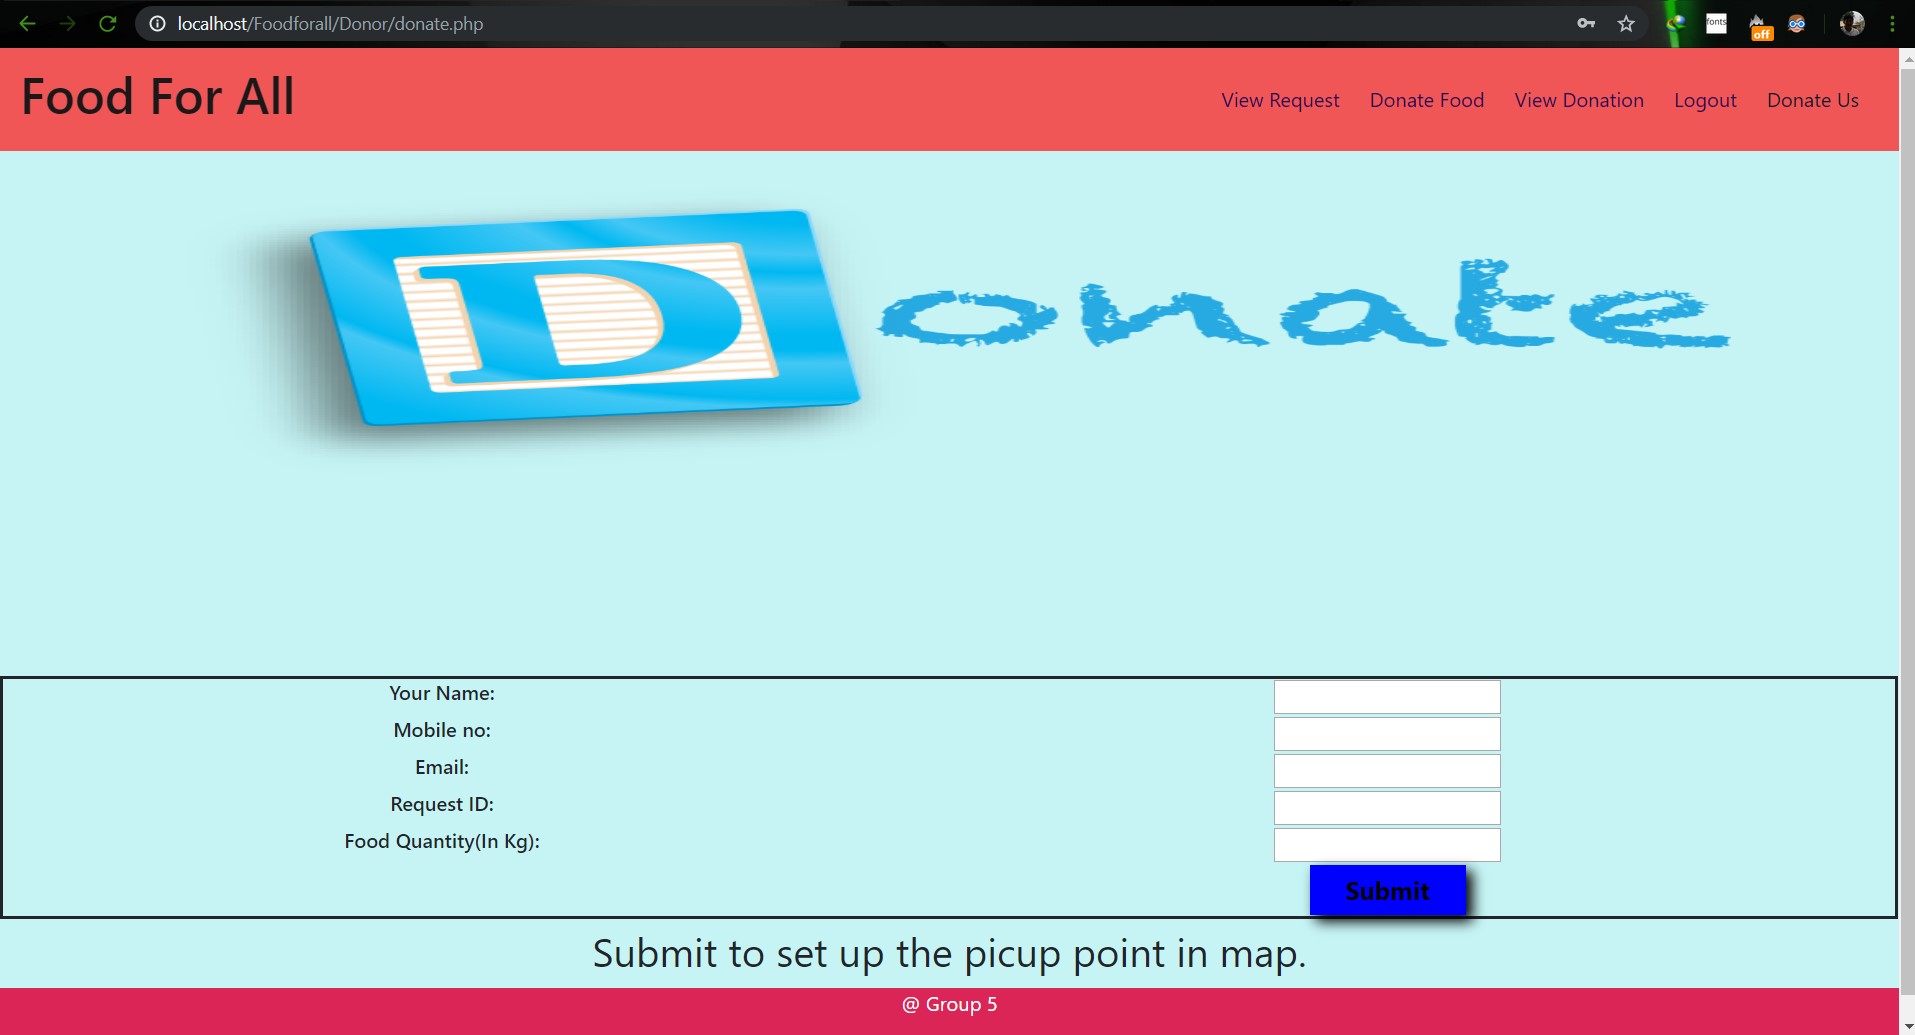                        **Image: Food Donation** <br> 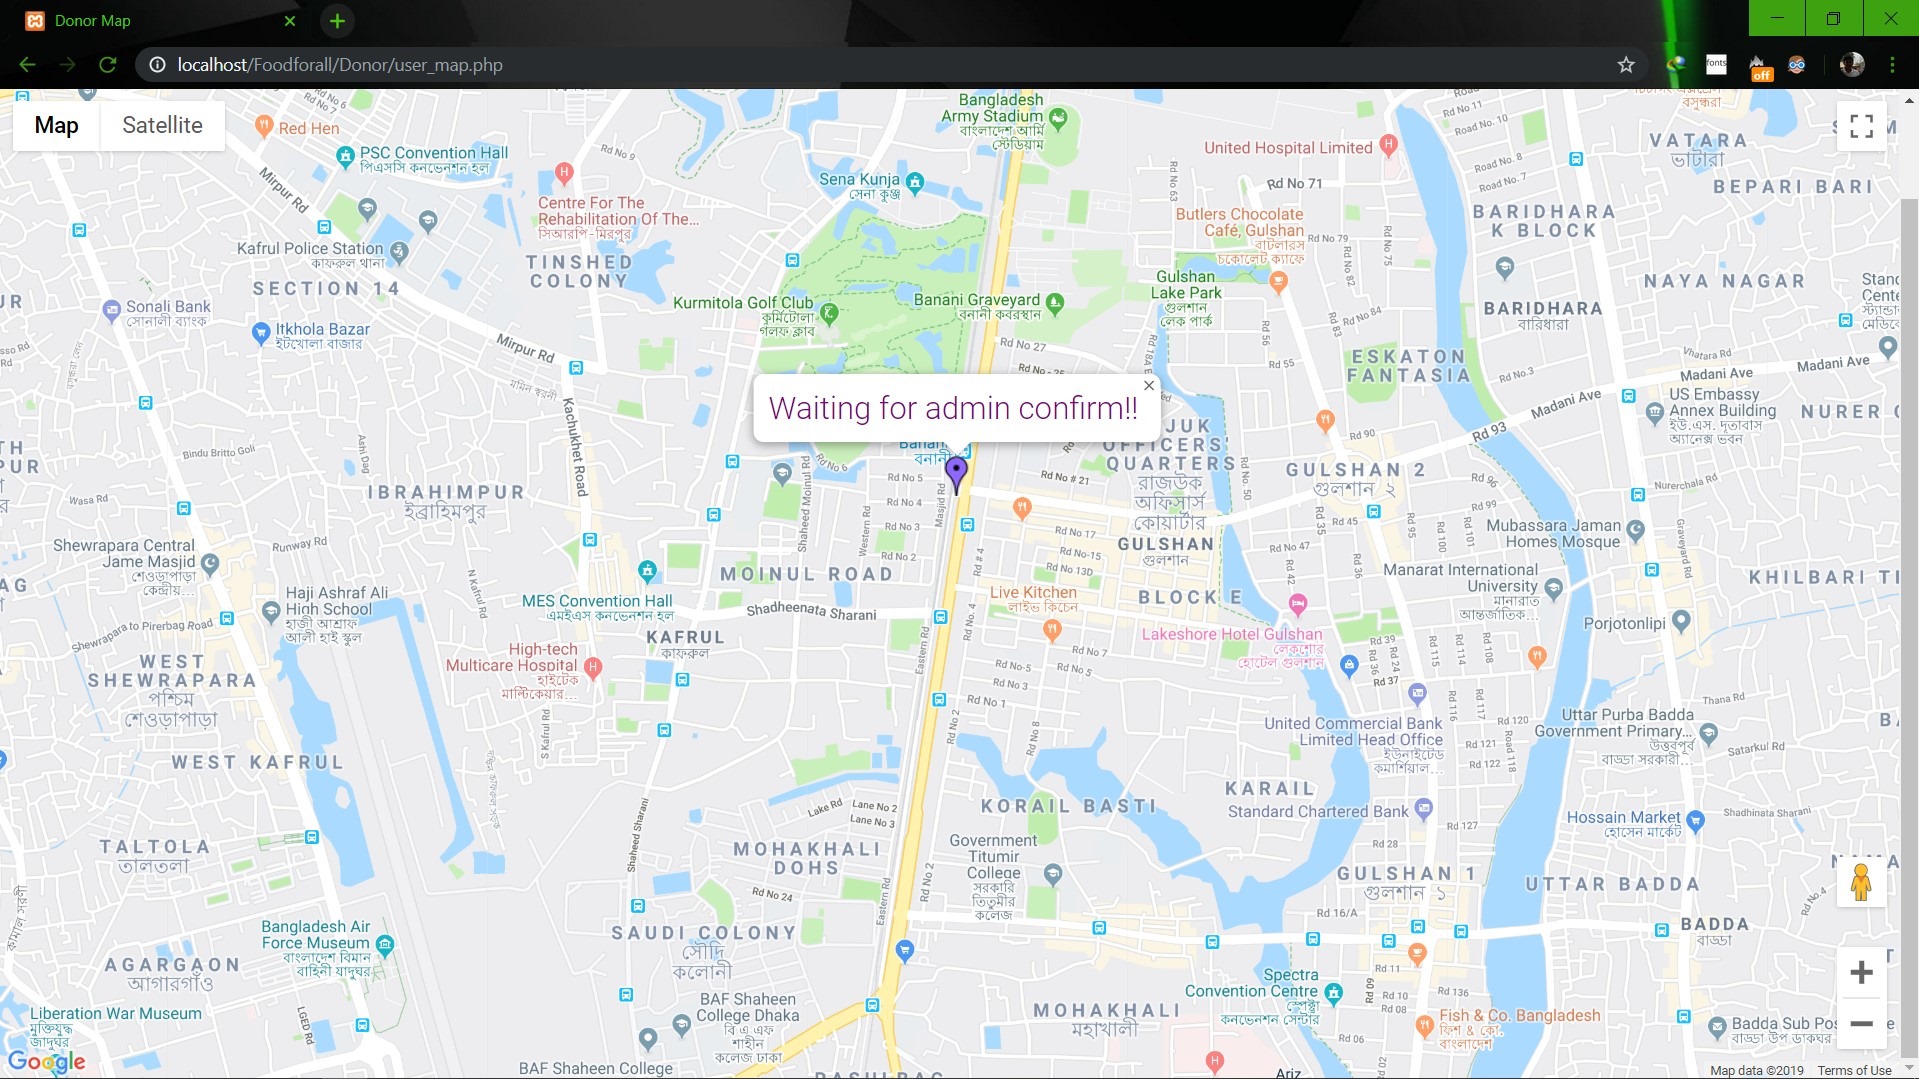                        **Image: User map** <br> 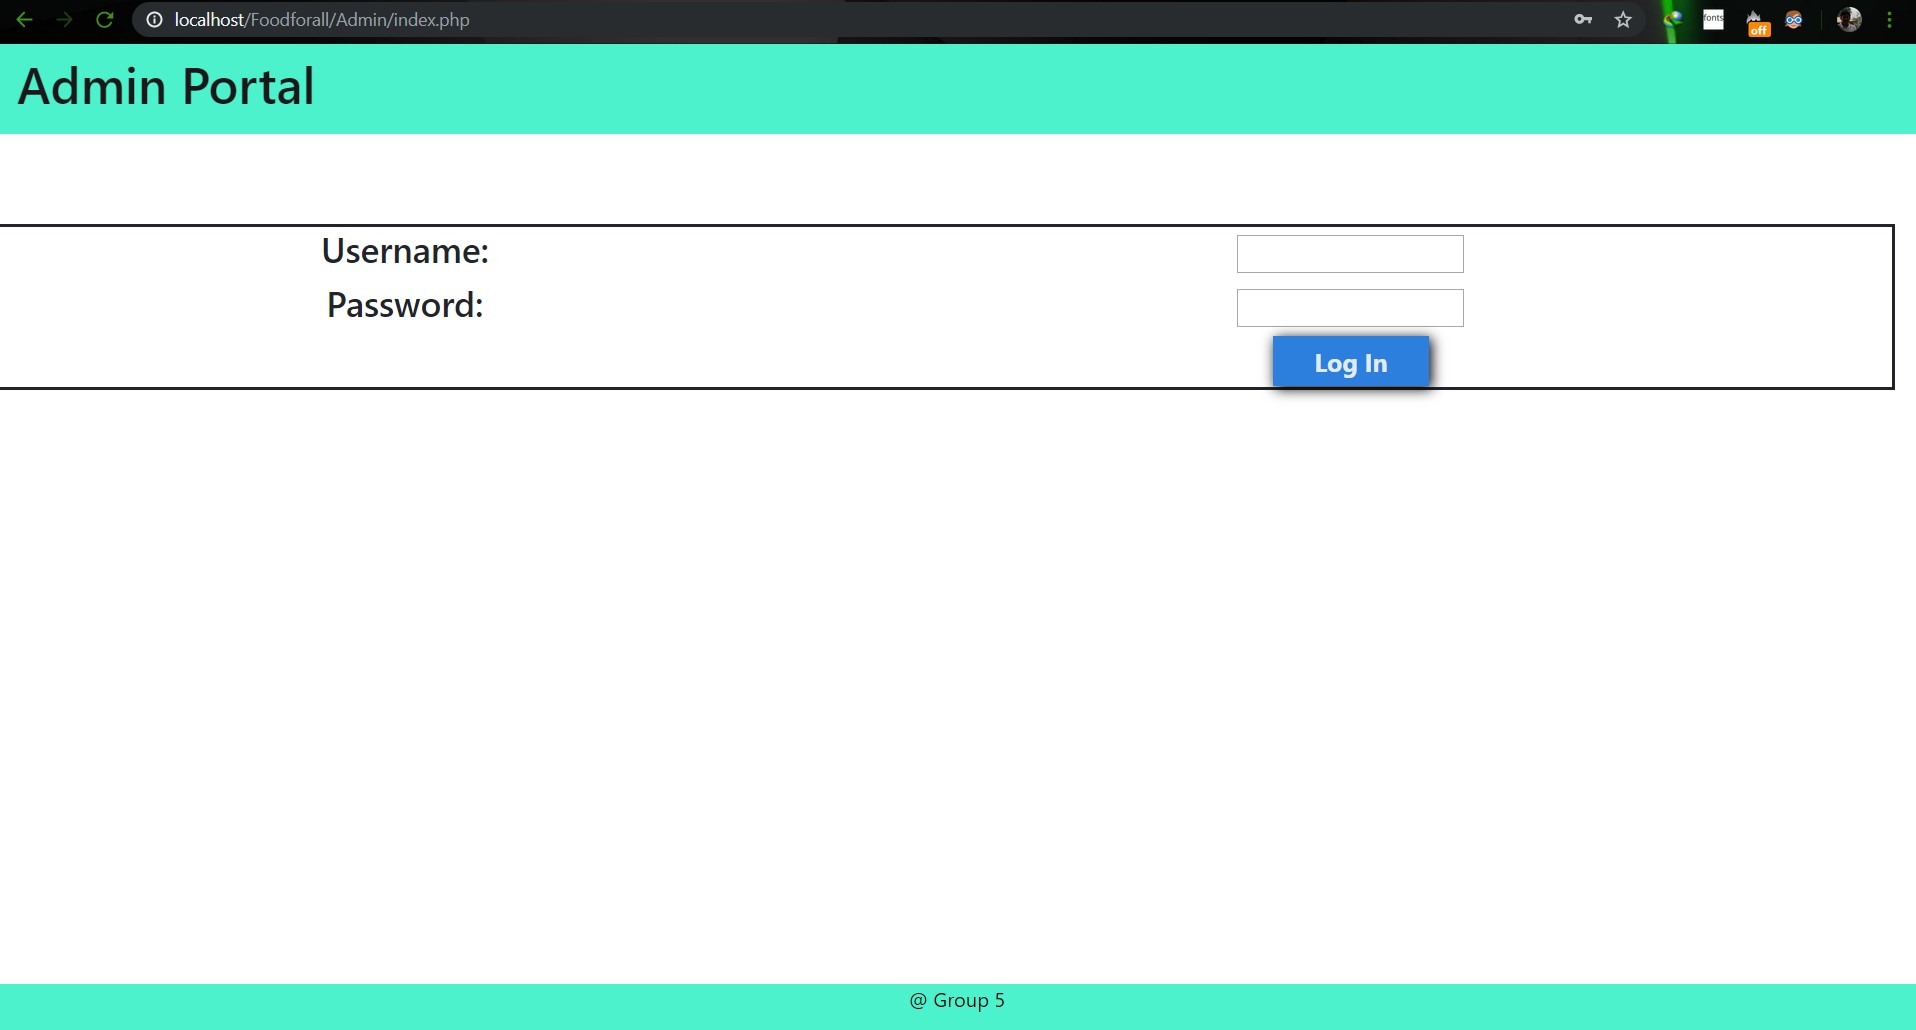                        **Image: Admin Login** <br> 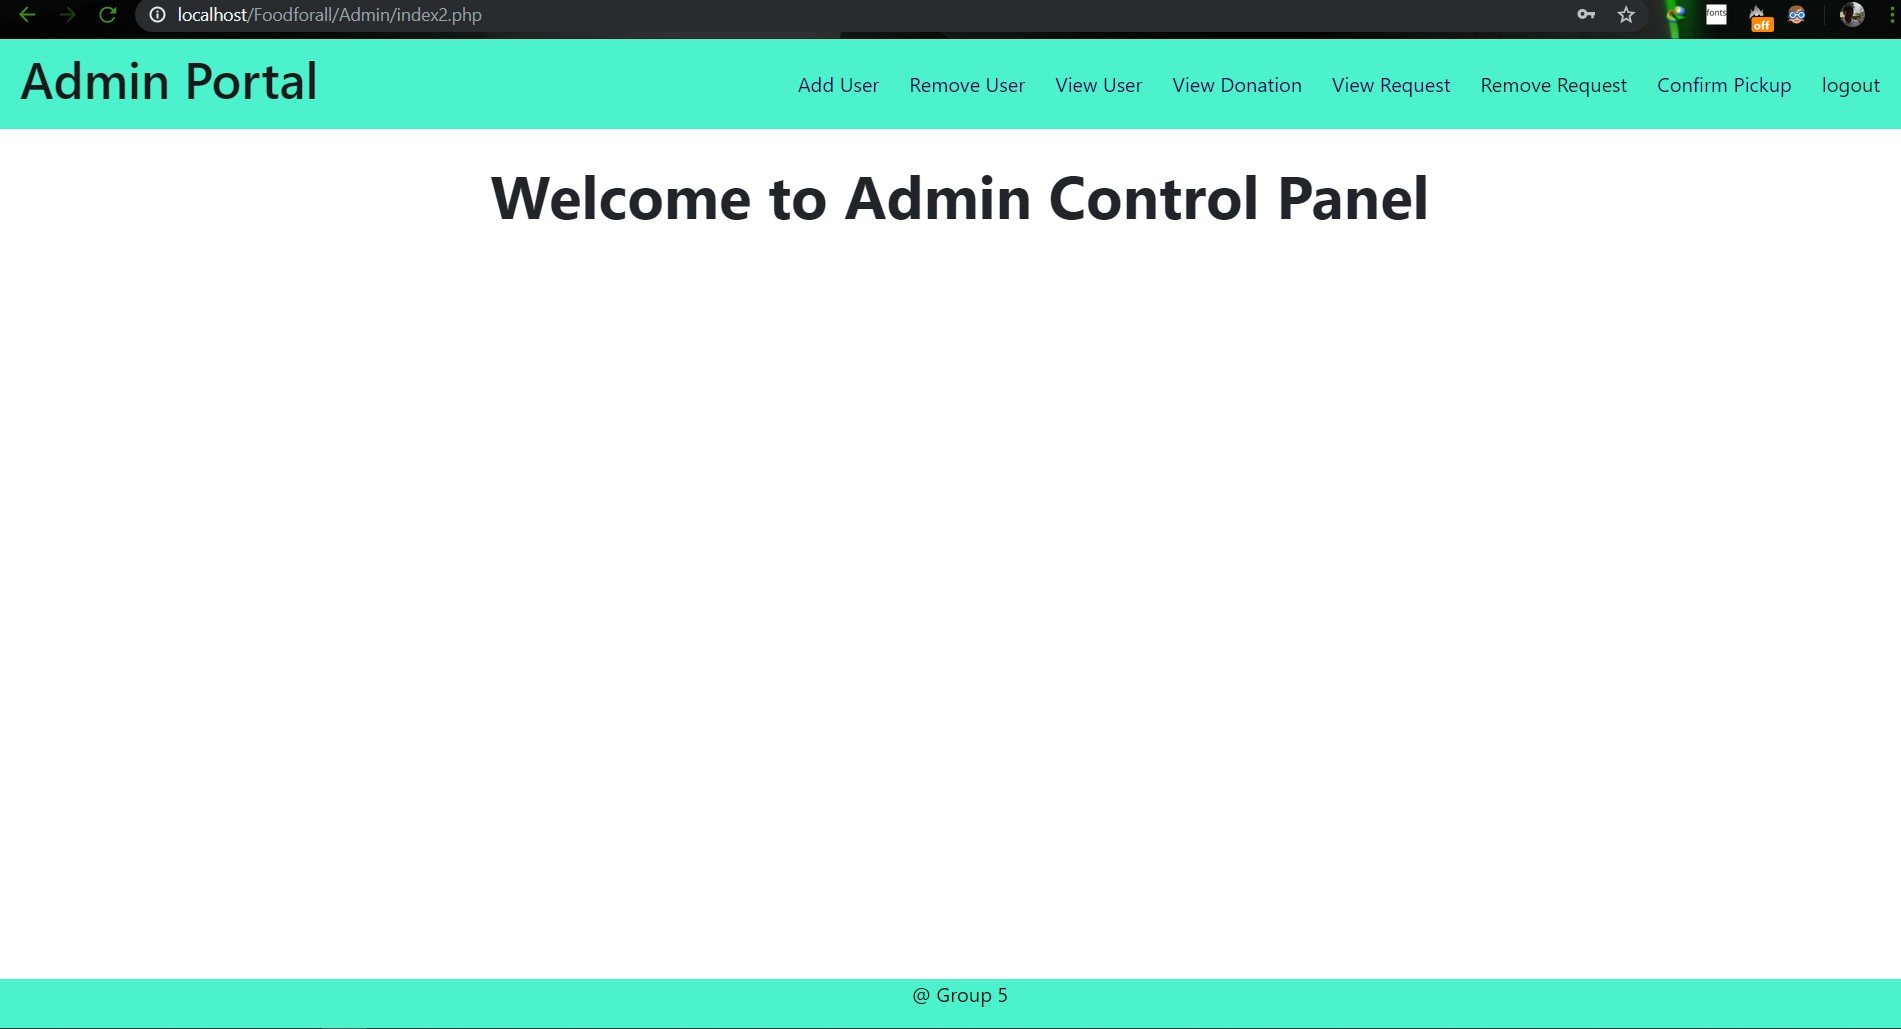                        **Image: Admin Home** <br> 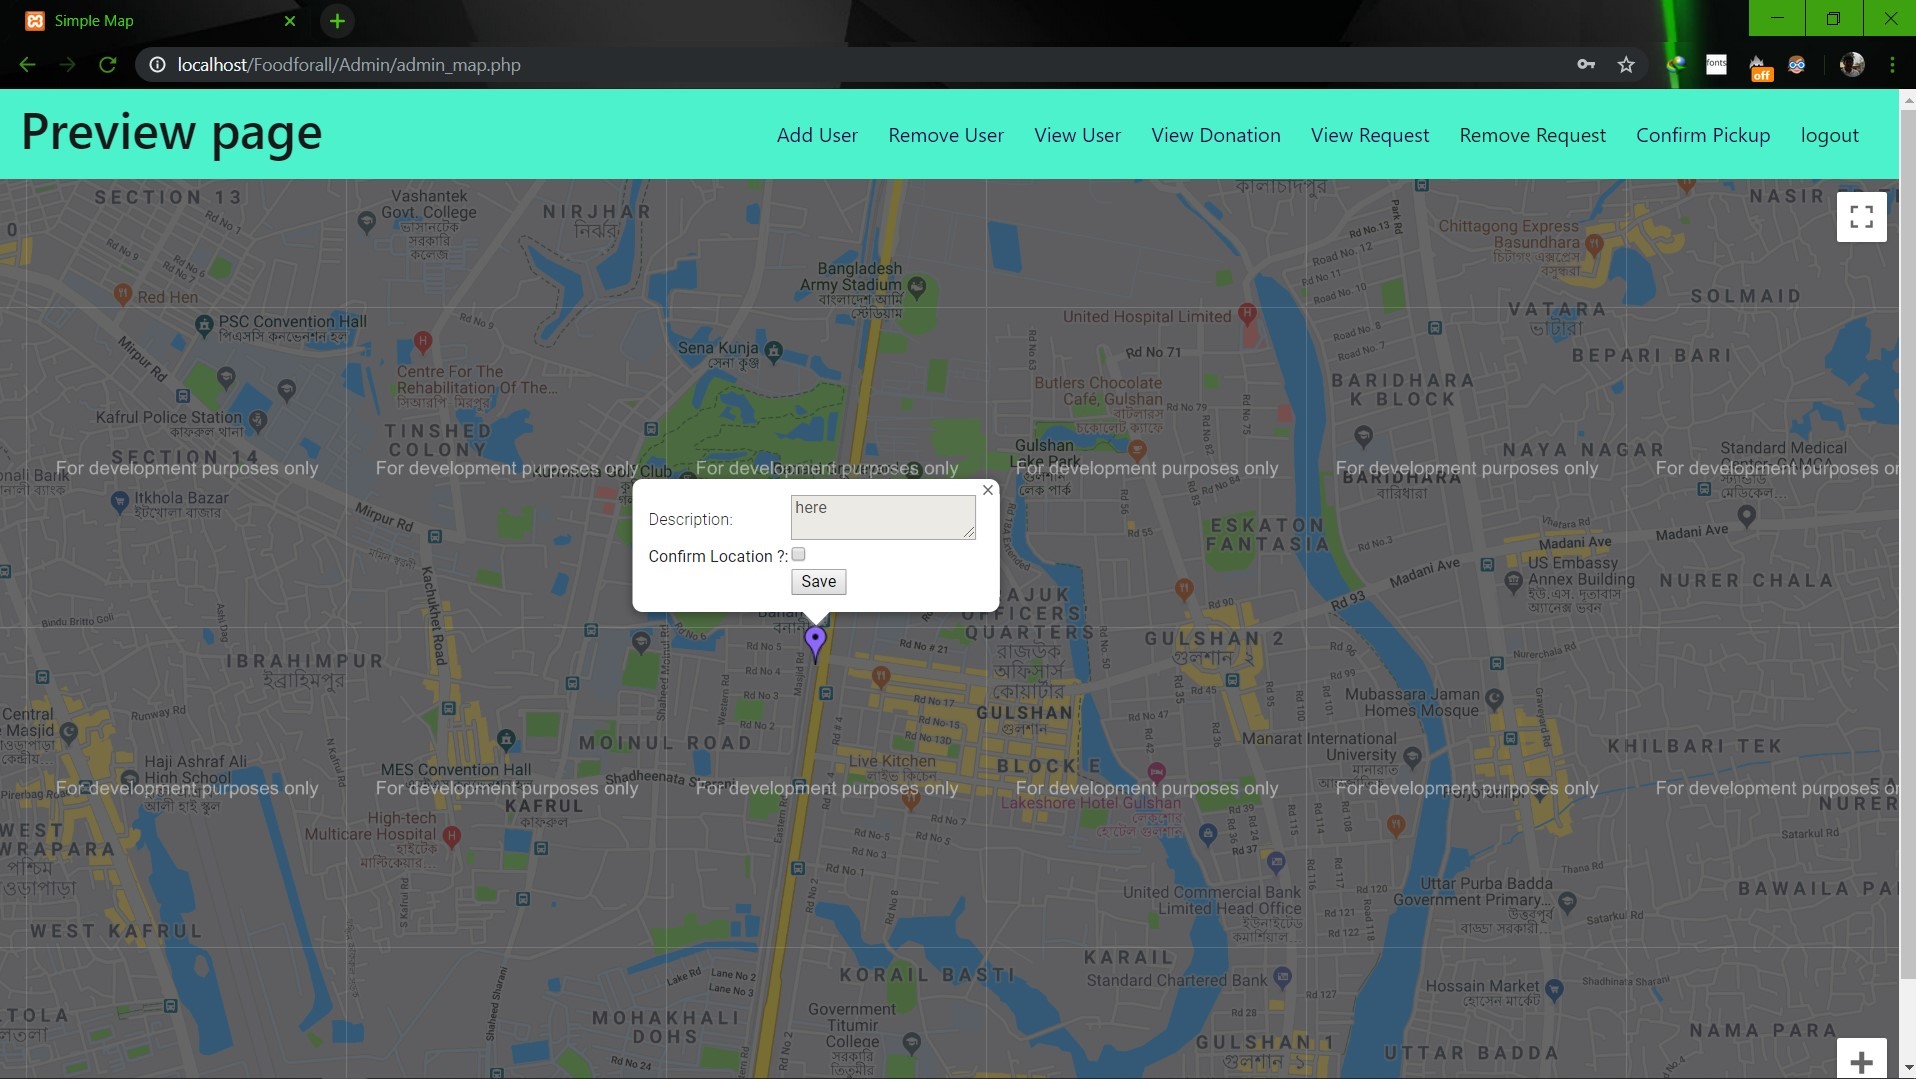                        **Image: Admin map** <br><br><br> **Conclusion:** 1. First of all we learnt how to use Github. It was completely new for us. But we now know how to use it. 2. We learnt about PHP, HTML and How to create DB connection in Mysql to create a project. 3. If we have more time we may be able to make the full project work properly. 4. In future, if we get chance we also want to create a android app for this weabsite. **References:** 1.https://getbootstrap.com/docs/4.3/examples/starter-template/ 2.https://www.w3schools.com/ 3.https://www.youtube.com/ 4.https://stackoverflow.com/questions/22138746/php-form-not-inserting-into-mysql-database 5.https://www.google.com/search?q=html+color+picker&oq=html+&aqs=chrome.0.69i59j69i57j69i60j69i65l2j69i60.3167j0j7&sourceid=chrome&ie=UTF-8 6.https://www.geeksforgeeks.org/ 7.https://www.youtube.com/watch?v=q2VV3-yWupU 8.https://bitbucket.org/webeasystep/markers_manager_php_mysql/src/master/
ElisaBertuccioli
Création de la page d'accueil d'un site fictive de e-learning (Index), avec page sommaires de tous les cours proposés (lessons) et la page du 1er cours (lesson1)
Seongrok-Shin
Personal Portfolio Website | React + Bootstrap + Framer Motion A modern, responsive portfolio website showcasing my projects and skills. Built with React 18, Bootstrap 5, and enhanced with smooth animations using Framer Motion. Features include a touch-enabled project carousel, dynamic typing animations, and mobile-first design.
marcelaritonang
My first portfolio website showcasing my projects and skills. Built with pure HTML, CSS, and JavaScript, featuring a clean and responsive design. This static website demonstrates fundamental web development skills and serves as a starting point in my web development journey. Tech Stack: - HTML5 - CSS3 - Vanilla JavaScript - Bootstrap
komaramounika27-droid
A fully responsive personal portfolio website built using HTML, CSS, JavaScript, and Bootstrap. This project showcases my skills, projects, and professional background with a clean UI, mobile-first design, and interactive components. It reflects my understanding of front-end development and responsive web design principles.
mrigorir
Here I present to you my first portfolio made with bootstrap, I took the layout from startbootstrap.com I like it a lot because it's minimalistic, straight, and simple, it gets to the point with a notary simple beauty. That's how like design: simple, communicative, and beautiful at the same time. As time passes by, this portfolio will present amazing full-stack projects and will be updated whenever it needs to.
MatJOnGit
-FR- Dans le cadre de ma formation de Développeur Web junior chez OpenClassRooms, différents projets sont à mettre en place. Celui-ci, nommé "intégrer la maquette du site d'une agence web", a pour but de valider les différentes connaissances réunies jusqu'à maintenant. Il est proposé ici de s'occuper de la refonte du site d'une agence web factice, intelligemment appelée WebAgency, présentant les différents services proposés, les précédents projets réalisés et permettant au visiteur de remplir un formulaire pour être recontacté par l'agence. Les consignes sont les suivantes : le site doit tenir sur une page avec un menu qui suit la navigation; pas d'utilisation de framework tel que Bootstrap; intégration d'un effet d'animation CSS; développement avec une approche mobile first. -EN- As part of my training as Junior Web Developer at OpenClassRooms, different projects are to be implemented. This one, named "Integrating a mockup into a web agency's website", aims to validate the different knowledge gathered until now. It is asked to take care of a website redesign for a fake web agency, cleverly called WebAgency, presenting the various proposed services, previous finished projects and allowing the visitor to fill a form to be contacted by the agency. The instructions are as follows: the site must fit on a page with a menu that follows the navigation; no use of framework such as Bootstrap; integration of a CSS animation effect; development with a mobile-first approach.
jesseguitar87
Objective: Build a CodePen.io app that is functionally similar to this: https://codepen.io/freeCodeCamp/full/qRZeGZ. Fulfill the below user stories and get all of the tests to pass. Give it your own personal style. You can use any mix of HTML, JavaScript, CSS, Bootstrap, SASS, React, Redux, and jQuery to complete this project. You should use a frontend framework (like React for example) because this section is about learning frontend frameworks. Additional technologies not listed above are not recommended and using them is at your own risk. We are looking at supporting other frontend frameworks like Angular and Vue, but they are not currently supported. We will accept and try to fix all issue reports that use the suggested technology stack for this project. Happy coding! User Story #1: I can see a wrapper element with a corresponding id="quote-box". User Story #2: Within #quote-box, I can see an element with a corresponding id="text". User Story #3: Within #quote-box, I can see an element with a corresponding id="author". User Story #4: Within #quote-box, I can see a clickable element with a corresponding id="new-quote". User Story #5: Within #quote-box, I can see a clickable a element with a corresponding id="tweet-quote". User Story #6: On first load, my quote machine displays a random quote in the element with id="text". User Story #7: On first load, my quote machine displays the random quote's author in the element with id="author". User Story #8: When the #new-quote button is clicked, my quote machine should fetch a new quote and display it in the #text element. User Story #9: My quote machine should fetch the new quote's author when the #new-quote button is clicked and display it in the #author element. User Story #10: I can tweet the current quote by clicking on the #tweet-quote a element. This a element should include the "twitter.com/intent/tweet" path in its href attribute to tweet the current quote. User Story #11: The #quote-box wrapper element should be horizontally centered. Please run tests with browser's zoom level at 100% and page maximized. You can build your project by using this CodePen template and clicking Save to create your own pen. Or you can use this CDN link to run the tests in any environment you like: https://cdn.freecodecamp.org/testable-projects-fcc/v1/bundle.js Once you're done, submit the URL to your working project with all its tests passing. Note: Twitter does not allow links to be loaded in an iframe. Try using the target="_blank" or target="_top" attribute on the #tweet-quote element if your tweet won't load. target="_top" will replace the current tab so make sure your work is saved.
Siemkins07
My first Personal Page. Fully RWD. Projects slider with pure CSS tricks (no JS or Bootstrap).
MichalSawrycz
One of my first projects made with use of Bootstrap. It was created in Mirosław Zelent's course.
730Rashid
My personal website contains my skills and projects along with my contact info. This is my first beginner/Intermediate project using HTML/CSS and Bootstrap.
lukemiller93
This is my first attempt at learning Bootstrap 4 through Traversy Media's Udemy Course "Bootstrap 4 from Scratch." https://www.udemy.com/bootstrap-4-from-scratch-with-5-projects/?couponCode=TMWEBSITEBOOTSTRAP
Sushant-bhau
i have created a Todo list using HTML, CSS, JavaScript & Bootstrap .it is my first project and hopefully I will be soon coming up with new projects
nenalukic
This is web store built with HTML, CSS and Bootstrap. It was one of my first projects where I was learning about Bootstrap. It contains interesting features like testimonials, pricing, navigation bar and button links to app store.
Polu-1115
This is my first responsive website created only using HTML, CSS and Bootstrap. This is one of my very initial projects where I am just learning Web Development and different technologies associated with it.
Adonis99Jordan
Welcome to my first React Portfolio — a showcase of my work as a web developer, featuring projects and skills I’ve acquired. Built with React and Bootstrap, it offers a responsive, visually appealing interface to highlight my development experience.
noradappa
Developed a fully responsive portfolio website using React.js, Bootstrap 5, and JavaScript to showcase my skills and projects. Implemented reusable components, smooth navigation, and an attractive UI with a mobile-first approach.
picker770
My first milestone project: a responsive personal portfolio built with semantic HTML and custom CSS. It showcases core fundamentals and is designed for easy integration with frameworks like Bootstrap. This site will evolve as a living record of my development skills and projects.
Indu0943
This is my personal portfolio website built with HTML, CSS, Bootstrap, and JavaScript. I first created it in 2022 and have recently updated it with my current education, improved design, and better user experience. It reflects my growth as a developer and showcases my projects, skills, and progress over time.
fajrianwebdev
My first personal portfolio website as a Frontend Developer. Built with clean, responsive design for all devices using HTML, CSS, JavaScript (with TailwindCSS & Bootstrap). Features smooth animations, interactive UI elements, and optimized performance. Showcasing my skills, projects, and contact information in a modern layout.
Utkarsh7776
A modern, responsive personal portfolio website built with React.js and Bootstrap, designed to showcase my skills, projects, experience, and contact information. This site follows UI/UX best practices with a clean layout, smooth animations, and mobile-first design.
Evan-Lacy
This project is the first draft of my public portfolio, meant to display my various projects and capabilities to employers, in addition to proving as a proof of concept that I can build functional websites with HTML, CSS, and Bootstrap.
deepika-2006477
A responsive portfolio website built with HTML, CSS, and Bootstrap 5, showcasing skills, projects, and a contact form. Features a responsive navbar, hero section, and project cards with hover effects. Hosted on GitHub, it’s my first project, demonstrating front-end skills and Bootstrap’s grid system for seamless device adaptability.
Prashant0517
Personal Portfolio Website – A fully responsive portfolio built using HTML5, CSS3, Bootstrap 5, and JavaScript. Showcases my profile, skills, education, experience, and projects with a clean UI, mobile-first design, and smooth navigation across all devices.
mousa-creations
This landing page was created with HTML, CSS, and the Bootstrap toolkit framework. This is my first project utilising updated Bootstrap 5.1, and I'm proud of it. It took me longer to learn Bootstrap, and I'm hoping that it will be a wonderful launch for larger projects in the near future. I began by creating this design in bootstrap and CSS, which allows me to customise the layout of my main section landing page. The landing page's primary part is significant because it depicts communities. As you engage in actual interaction with your users, you'll be able to form bonds with them.
JEEVA27-DEV
This project is a fully responsive personal portfolio website designed to highlight my technical skills, projects, and achievements. It features a modern UI with smooth navigation, interactive elements, and a mobile-first layout. The website is built using HTML, CSS, JavaScript, and Bootstrap, and hosted on GitHub Pages for seamless deployment.
Teejayguru
A fully responsive personal portfolio website built using HTML, CSS, JavaScript, and Bootstrap. This project showcases my skills, academic projects, resume, and contact information in a clean and modern UI. It is designed with a mobile-first approach and optimized for different screen sizes to deliver a smooth user experience.